Thursday, January 12, 2012

Epilogue

I rarely finish anything cleanly; there is always some sort of edit involved. On the gourd banjo I had to make a new nut, and tweak a few other things over the last month or so. After a few weeks of playing I started to crave some sort of position markers when I realized that flying up for what would be a 12th-fret or 17th-fret note was never going to be anything other than a gamble if I didn't get a visual cue. So, I added little rosewood position dots today.

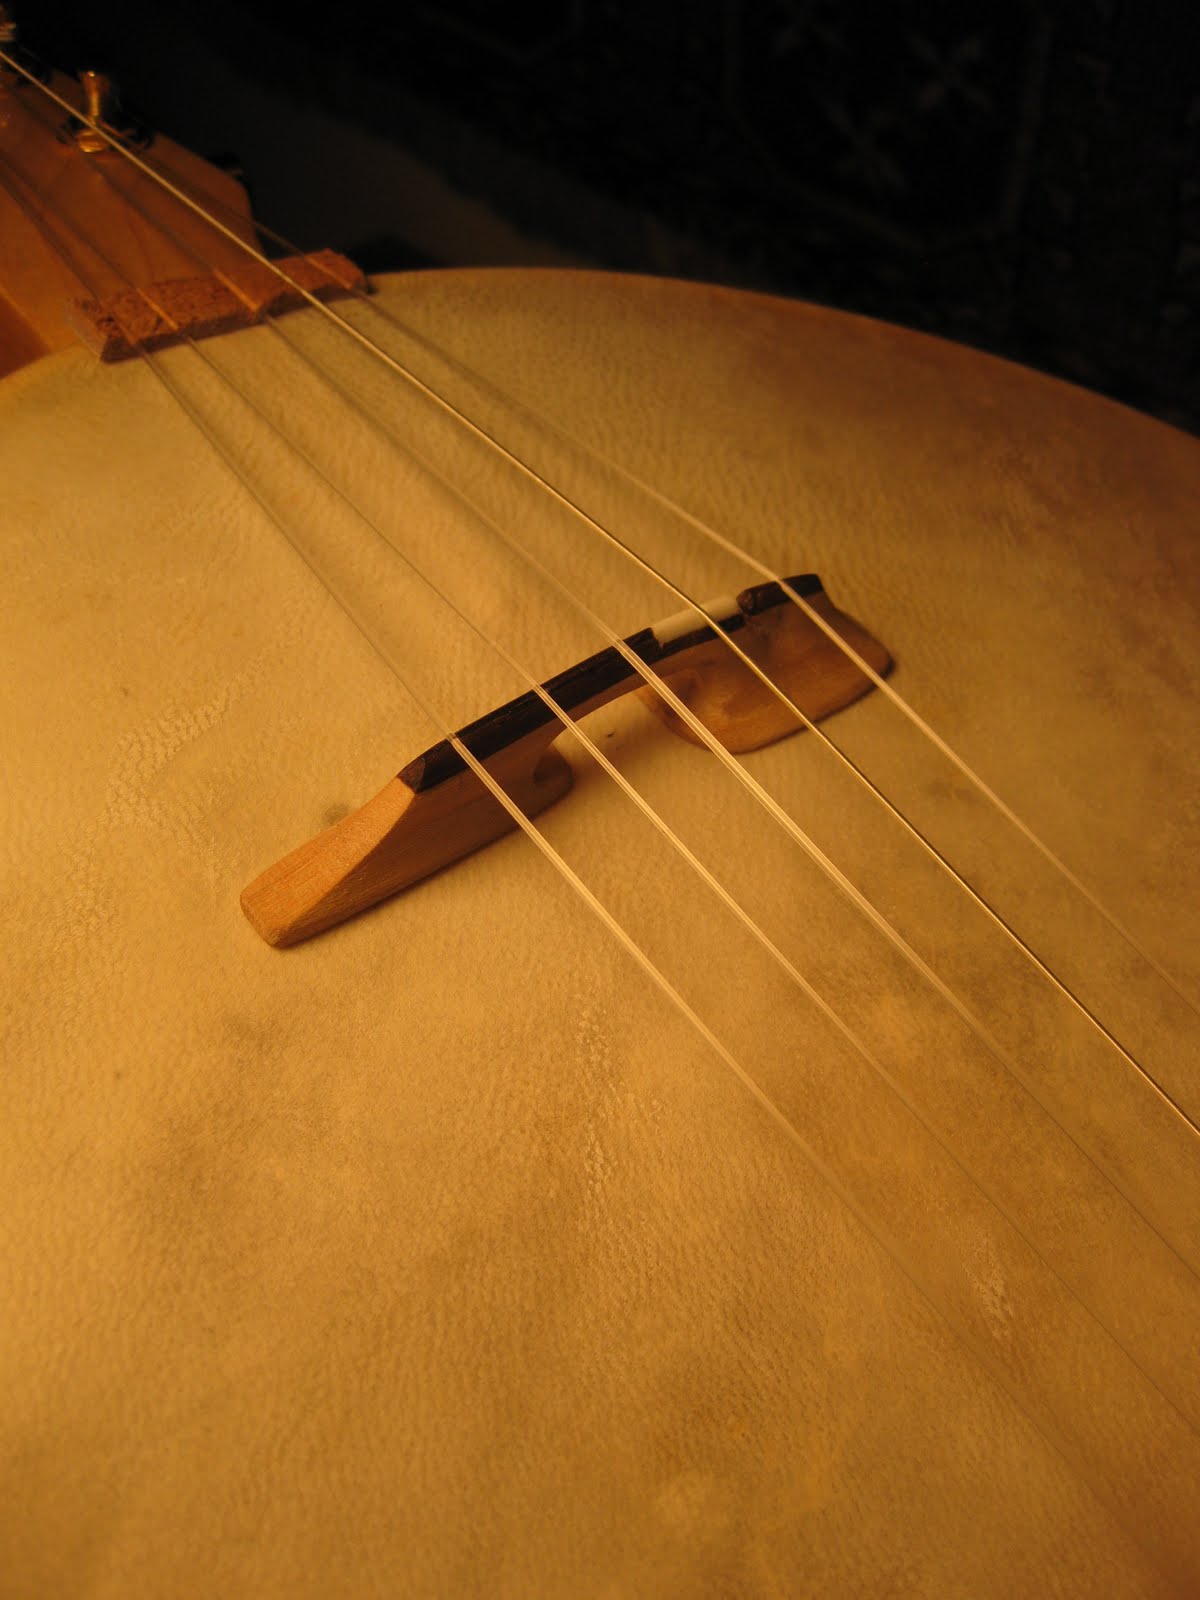
This is the current bridge design. There is a rosewood cap, with a break between the 4th and 5th strings, and a bone inlay for the 4th string. There is a bit of inspiration from the work of physicist Michael Kasha with guitar design in the difference in the two feet, the top one meant to spread the bass frequencies and the bottom one to focus the treble. I think the brace (see previous posts) acts like a fulcrum for the movement of the two different feet. I may separate out the foot of the 5th string from the bass foot and lighten the treble foot somewhat...we'll see...

This is such a lovely instrument to get to know. Much more of a voice comes out of this than any banjo I have heard. I'm starting to get comfortable with it.

Saturday, December 3, 2011

Mission: Accomplished

I have finished the gourd banjo. Well, not completely finished--I am going to replace the nut and make a new bridge, and possibly make other adjustments as I play it--but I strung it up last night and went down to the fabulous Green Frog here in Palouse to try it out at our local open mike, photographed above by my friend Jens Hegg. It is everything I needed--louder, more responsive, richer in tone. Among the experiments that worked really well was gluing on the head. I got a very thin goatskin head and working from instructions I found for reheading dumbeks (a Mediterranean drum with a glued head), I made a frame (a piece of plywood with a hole cut out in the middle for the gourd body to sit in, the edge padded with duct-taped foam) with screwed-in hooks so I could stretch the skin (which had been soaked in water) over the glued surface and anchor it down using cotton string going through the holes I punched along the edge of the skin. I did not crank it super-tight, but took the suggestion of my friend Paul Hill (who has put skin heads on two of my regular banjos) to just work it down tight enough to get the wrinkles out and assume that the skin would pull itself tight as it dried. Next time I do this I'll put "S" hooks in the holes in the skin, and attach them to the hooks using rubber bands. Anyway, by the time the skin started to dry and pull tight, the glue (Titebond II) had set, so nothing slipped. I did have to go around quite a bit and work wrinkles out of the side as the glue was drying, and I had the red surgical tubing you can see below that I sort-of wrapped around to pull things together. It came out perfect.

The instrument is so responsive now, it will take me a little while to figure out how to handle it. But before too long I will be going back to work, recording the new CD and plotting a course for this project.

Friday, November 25, 2011

Bracing a gourd banjo head

The image above was taken earlier this week, showing a nearly-finished banjo spine. One idea I have had about this sort of banjo is that the head needs a brace, here seen just right of center, the ridge that connects to the rim section (and from there to the tailpiece/tuners). It extends under the head a portion of the way towards the neck, supporting the head, and stopping a bit before the bridge. Another view (the brace is on the left this time), showing how the spine fits into the gourd.

My first gourd banjo originally had no such brace, with the stick from the neck running underneath the head without touching it. This has been the standard system in banjos since the mid-19th century and I didn't consider other options when designing that instrument. But without adjustable head tension, humidity could lower the action until the instrument wouldn't play, and I noticed a more significant problem that has bothered me in banjos for decades, the "ring" of the head. In bluegrass music, this has become integrated into the sound of the music and the sound of a plastic head in a 20-pound Mastertone snaps more than it rings. Many clawhammer banjo players like to mute the back with a cloth, effectively cancelling the ringing of the diaphragm bell of a banjo head. On my gourd banjo with an actual skin head, the effect muddied the sound, which was sounding even muddier because I was tuning down to low G (now I'm up to A).

At this point, my brother-in-law Tom sent me a video of an akonting player. Since I didn't keep my finger on the academic musicology pulse, I had not been aware of Ulf Jagfors' introduction of Daniel Jatta and the music of the akonting to the West; this occurred after my article on Gottschalk had been published and I never had traveled in musicological circles anyway. I agree with what seems to be the consensus in the field that this music tradition is the closest thing to an African banjo ancestor, and obviously anyone interested in the gourd banjo had to sit up and take notice. Also, the music was wonderful. And there in plain sight was the original instrument design, found throughout the plucked lutes of West Africa, with the spine neck running right under the head, supporting it. Besides mitigating to some degree the movement of the bridge of the instrument in changing humidity, it also would serve to cancel the dreaded ring.

I resolved at that point to remove the first head from my gourd banjo, widen the opening while I was at it (trying to increase volume), and install a brace, running in this case from the rim on the neck side to the bridge, which on this banjo is in the center of the head. It was a piece of maple that I glued to the stick running underneath. I suppose I could have run it the entire length, but I wondered whether I would get the effect I wanted with the partial brace, and then I would have greater volume by leaving the rest of the head free to vibrate. Between this and tuning up to a low A, I ended up with a richer sound, with more clarity. The experiment was a success, but this instrument was still pretty quiet, unable to play with other instruments comfortably. I had to admit that the akonting obviously has plenty of volume and a lovely rich tone acoustically, and that I would need to redesign my banjo to take advantage of what I had learned--the primary agenda being to increase the size of the head, but also to make use of the partial brace.

In my new banjo, to increase downward pressure on the bridge (hopefully increasing volume and enriching the tone), I have moved the bridge towards the tailpiece, which been the standard configuration on banjos since the 19th century. In this case I think the American innovation makes sense, especially because I have increased the head size and I think the bridge would be most efficient on the stiffer surface nearer the rim. Because of the shift of the bridge location, I can run a shorter brace from the tailpiece end, and that way I hope to maximize the potential of the vibrating surface while still canceling the "ring."

Tuesday, November 8, 2011

Gourd banjo, part five


I am at last focused on spending some time working on this instrument, so things should happen pretty fast. For me, anyway. I have just finished an arrangement of the Vivaldi D major lute concerto where I play the orchestra to Richard Kriehn's mandolin playing the lead, and I need this more powerful (I sure hope) instrument to be able to hold its own with other instruments.

First, I built a maple rim for the gourd, leaving two gaps for the spine to fit. I made six angled pieces like the one on the right, each piece was put on the gourd rim and marked from below, then cut out on the bandsaw (see my previous post) and sanded to an approximate finished shape on the belt sander. Because the gourd is so irregular, I made each piece, glued it on (with the masking tape clamp method you can see above), and then fitted the next piece to it. I had marked locations on the rim of the gourd for each piece, but I assumed (and this turned out to be the case) that once I started fitting them, the marks would change.

Next came fitting the spine. Cutting a precise fit into a gourd is very satisfying since the material is so easy to work. I got pretty close just marking things and cutting the basic shape with a coping saw, and it was easy to file a tighter fit. I have the square end at the tailpiece, and a small rounded heel for the neck.

I don't know of any African instruments that have a wooden rim like this, and I don't know if other modern makers use them, so I think of it as my idea. I did this on my first gourd banjo, though through several alterations not much of it remains. I think it significantly stiffens and strengthens the gourd, and I guess some part of me likes the idea of a "tone ring." Because I intend to glue the head (instead of attaching it with nails), I think that it will become very strong when reinforced with glued skin.

Now I can file the final maple rim shape and prepare the gourd for finishing, finish the tailpiece shape, create the rim sections in the spine, and make the head brace, which will be the subject of a future post.

Wednesday, October 26, 2011

The right tool for the job

The first power tool I really learned to use was a bandsaw, since my first extended experience with power tools was when I learned to build stringed instruments in college. Maybe a Dremel tool was first, now that I think of it, but the fact is that bandsaws are essential to luthiery because they can make cuts like the ones above, where I started making the maple cap for the gourd banjo I'm working on.

This is a nice old cast iron bandsaw that my friend Wayne found in his barn and sold to me when he was cleaning out old stuff before he moved. I thought it was rusty and possibly hopeless, and it sat in my basement for five years until I needed to make a curved cut in rosewood for a guitar bridge, and I discovered that it was just very, very dirty, but the bearings were greased and the motor still worked great. Mechanically it looked a bit vintage but still it was a very solid tool. The blade was even sharp. But I recall that when I was cutting the little part, it seemed to heat up a lot and burned the wood. I finished that part by hand and (odd for me) put the experience out of my mind, until last month when I tried to cut out the banjo spine. The blade was really smoking and not really cutting at all, so I found other ways to make the spine and determined that I must get a new blade.

It was when I got on the Internet to find a new blade that I found out that the 78.5" length of the blade of this saw is associated with meat-cutting bandsaws. Oh, so that blade was sharp, it was just designed to cut frozen meat, not maple. The mechanism is precisely the same, however, and now that I have a sharp new wood-cutting bandsaw blade I can at last get some work done with this thing!

Thursday, October 13, 2011

Fall

Asters and gallardia in bloom...I have always been surprised how the prairie blooms well into the fall. Younger plants whose parents bloomed in July throw out some impressive color in Indian summer here.

Elsewhere in the prairie, I am planting many, many divots of (so far) lupine and sticky geranium. Many species yet to go. Mainly I am planting in the southeast part of the property. This is where a fire from the east burned about half of the entire property, back in 1997 or so. I somehow took this as the call to plant native grass all through the area, but I was overwhelmed by the weeds that exploded along with the grass. Over the last six years, I have been very aggressive about taking the invasive species out, and I was surprised this year as it became clear that I had cleared it pretty well, and grass I planted last year has started to fill in very nicely, after most of what I had put in the first time years ago had been lost along with the weeds. Time to start putting in prairie plants!

This is looking in a vaguely southwest direction...the dirt area in front of that ponderosa pine has received a lot of the seed varieties I have planted this year, including early spring flowers, like deliphinium and blue-eyed Mary that I wanted to try seeding in summer, soon after their seeds were mature in nature. This entire area (as well as the acre or so behind me and to either side of this image) will be getting more native grasses soon as well, but currently is getting hundreds of little divots with 2-3 seeds in each one. After the geraniums I will start in on Rocky Mountain sunflower. And paintbrush, and cinquefoil, and...

Thursday, September 15, 2011

Gourd banjo, episode 3


The ongoing epic tale of the making of a new gourd banjo design continues...

The image above is the banjo "spine" after the first hour or so of the table saw and radial arm saw, a few days ago. Today I removed material from the thick center section with the radial arm saw and a chisel and spent a few hours with my belt sander armed with 40(!) grit. I was taught to do this sort of thing with rasps and files, so the belt sander is a guilty pleasure. I know it's wrong, but I've decided that I'm not a real luthier, I'm a musician--I just want to get this instrument finished and in my hands! This machine is also the perfect tool for evening up the handsaw cut on the gourd, too. So, it seems that I am not above power-carving with the belt sander.